Assigning Permissions
When you create a user with the User role, they start with no access to any features. You must explicitly grant permissions for each area of the app they need.
Admin role users always have full access and cannot have their permissions restricted. See Role Differences for more on how the two roles compare.
Only account Admins can view and change permissions for other users. Users with the User role can view their own permissions but cannot modify them.
How to Assign Permissions
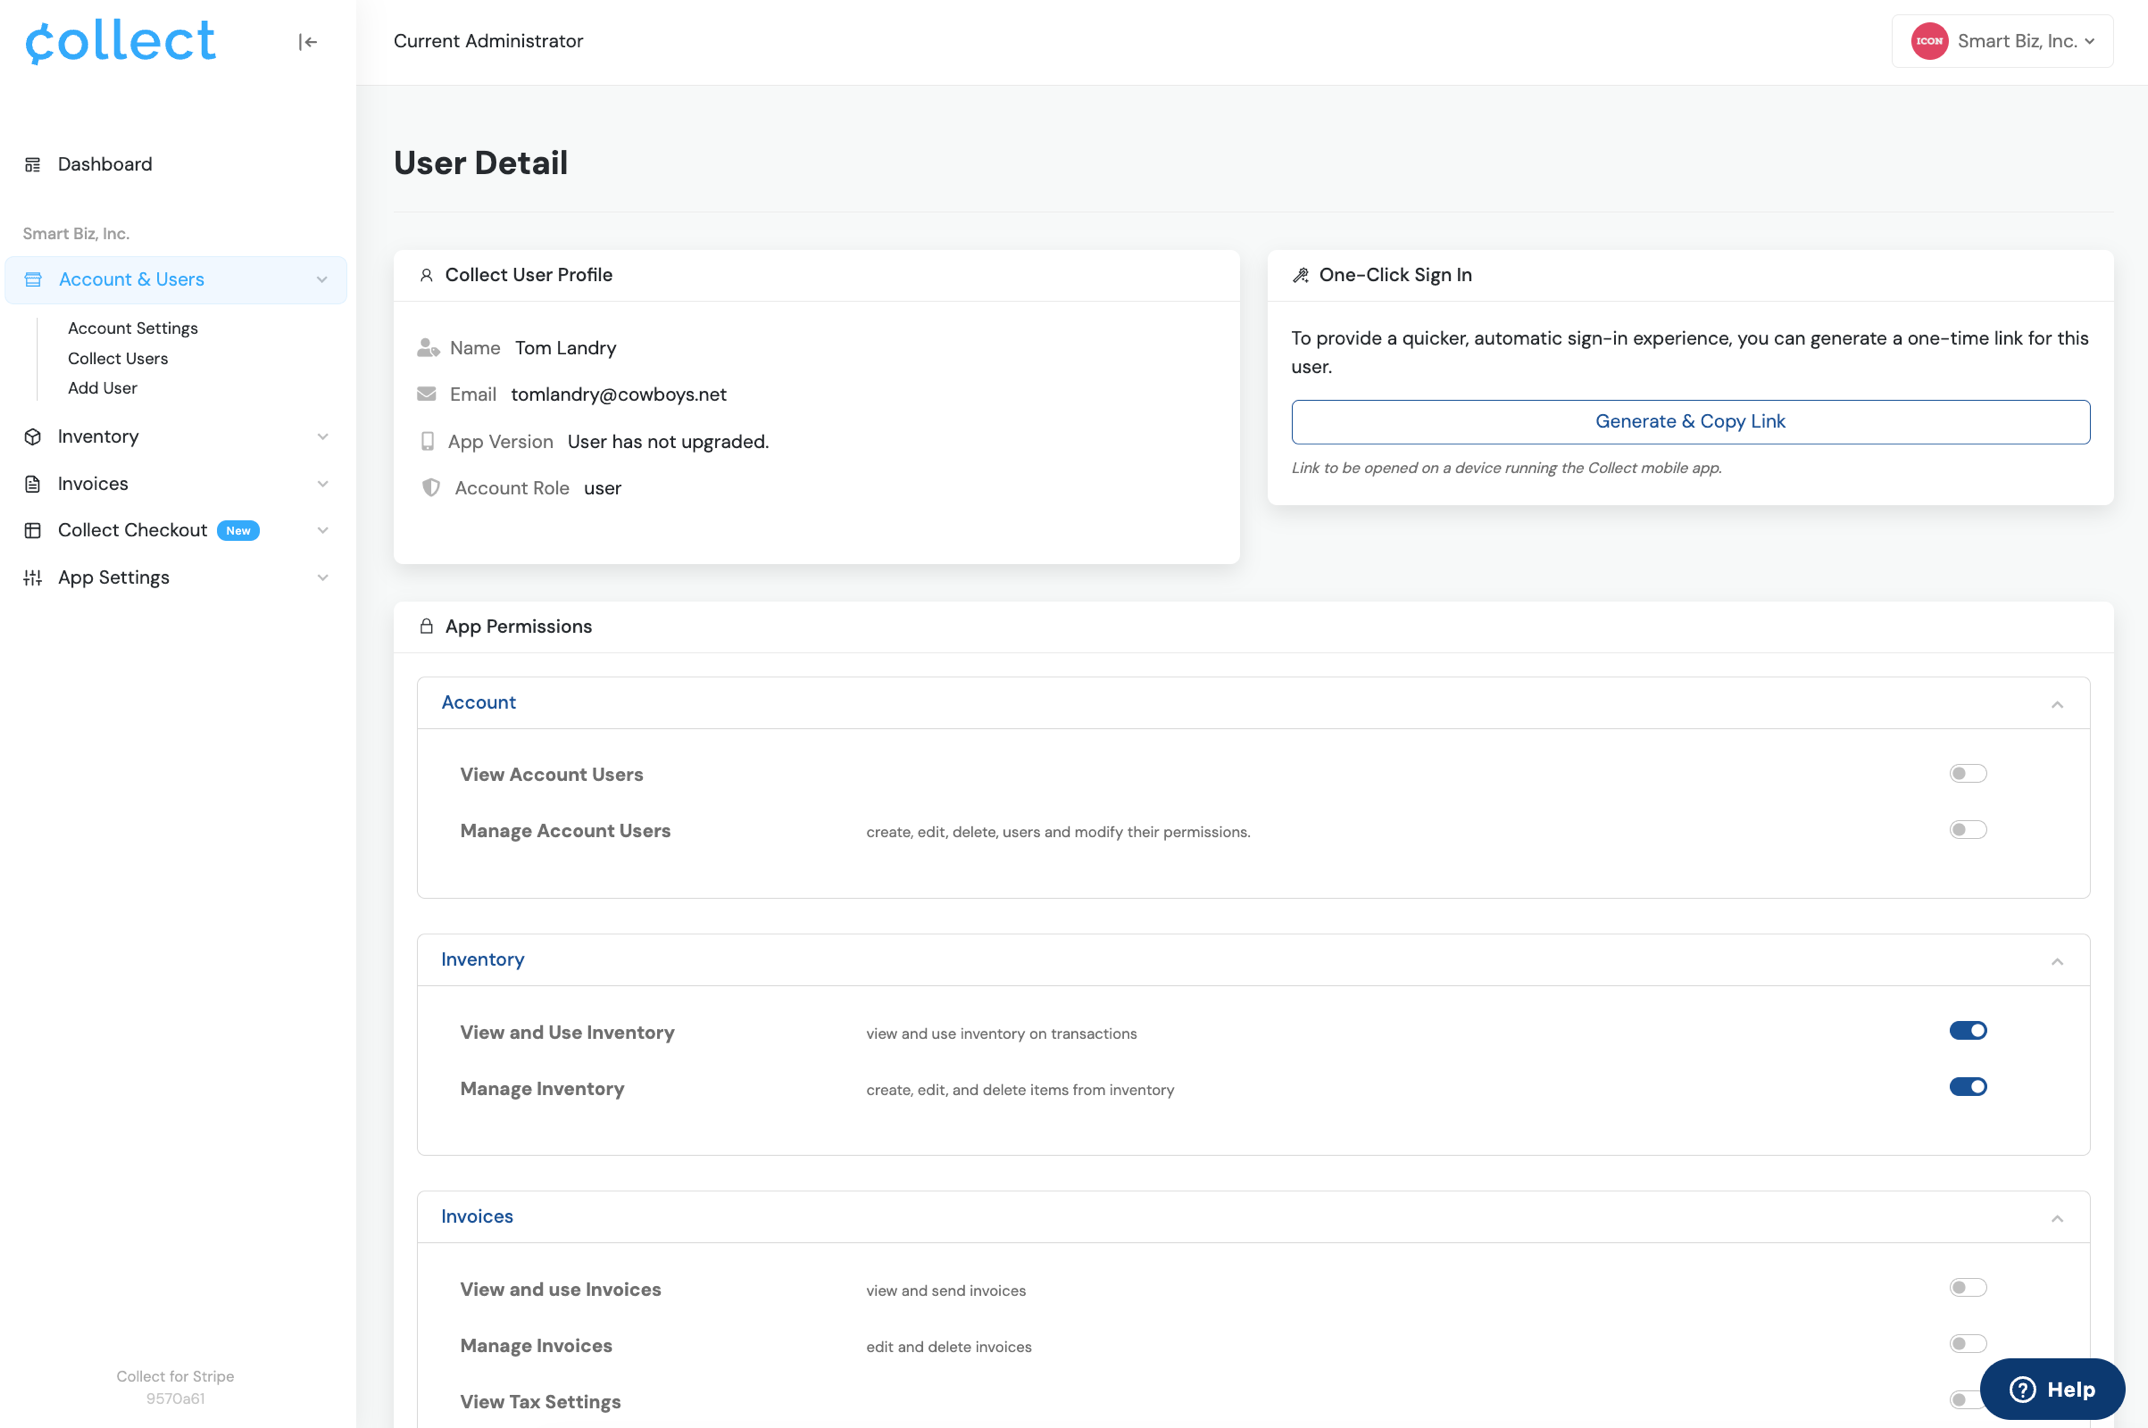
- Log in to the Web Dashboard.
- Navigate to Users and select the user you want to configure.
- In the App Permissions section, toggle the permissions you want to grant.
- Changes are saved automatically.
The user's permissions take effect the next time they open or refresh the app.
Permission Scopes
Permissions are organized into scopes. Within each scope, there are specific activities you can enable or disable independently.
Transactions
| Permission | What It Allows |
|---|---|
| Charges | Process standard payment transactions. |
| Subscriptions | Create and manage recurring subscriptions. |
| Authorize Only | Place authorization holds without capturing payment immediately. |
Customers
| Permission | What It Allows |
|---|---|
| Use | View and select Customers during transactions. |
| Manage | Create, edit, and save payment methods to Customers. |
Inventory
| Permission | What It Allows |
|---|---|
| Use | View Inventory and add Items to transactions. |
| Manage | Create, edit, and delete Items and Groups. |
Settings
These permissions control which app settings a User role account can access and modify.
| Permission | What It Controls |
|---|---|
| Receipts | Change receipt title and message settings. |
| Test Mode | Enable or disable Test Mode in the app. |
| Gratuity | Access and modify tipping/gratuity settings (Enabled or disabled via Payment Flow, but percentages can be customized separately with this permission). |
| Taxes and Fees | Access Service Fee settings or Add/Edit Tax Rates. |
| Currency | Change the currency setting. |
| Kiosk Mode | Access Kiosk Mode and its settings. |
Kiosk
| Permission | What It Allows |
|---|---|
| Use | Launch and use Kiosk Mode from the app. |
How Permissions Affect the App
Features a user does not have permission for are hidden from the app entirely. For example:
- A user without Inventory - Use will not see the Inventory tab during transactions.
- A user without Customers - Manage will not see the Edit or Add Card buttons on Customer details.
- A user without any Settings permissions will see a simplified Settings screen.
This keeps the interface clean and prevents accidental access to features that aren't relevant to a given team member's role.
Best Practices
- Start minimal: Grant only the permissions each user needs for their day-to-day tasks. You can always add more later.
- Separate cashier and manager access: Cashiers typically need Transactions (Charges) and Customers (Use). Managers may also need Inventory (Manage), Settings access, and Customer (Manage).
- Review periodically: As roles shift, revisit permissions to make sure they still match what each team member actually needs.
Related Topics
- Overview of Role Differences -- Understand Admin vs. User roles
- Adding & Removing Users -- Create and manage user accounts